 Photo Converter
Most conversions from HEIC go to JPG, but sometimes the destination demands PNG: a design pipeline, a print workflow, a CMS or documentation system that only accepts lossless images, or an editor that will re-save the file repeatedly.
Why PNG?
PNG is lossless: every pixel is preserved exactly, and re-saving a PNG never degrades it. That makes it the safe interchange format when an image will be edited, layered, or archived, and the format many upload systems whitelist. The cost is size: a PNG of a photo is usually several times larger than the JPG. If you're just sharing pictures for viewing, JPG is the better fit.
Convert HEIC to PNG (Step by Step)
- Select your HEIC photosIn the Photos app, select the images the pipeline needs as PNG: batch selection works the same as single.
- Share to Photo ConverterTap Share → “Convert with PhotoConverter.”
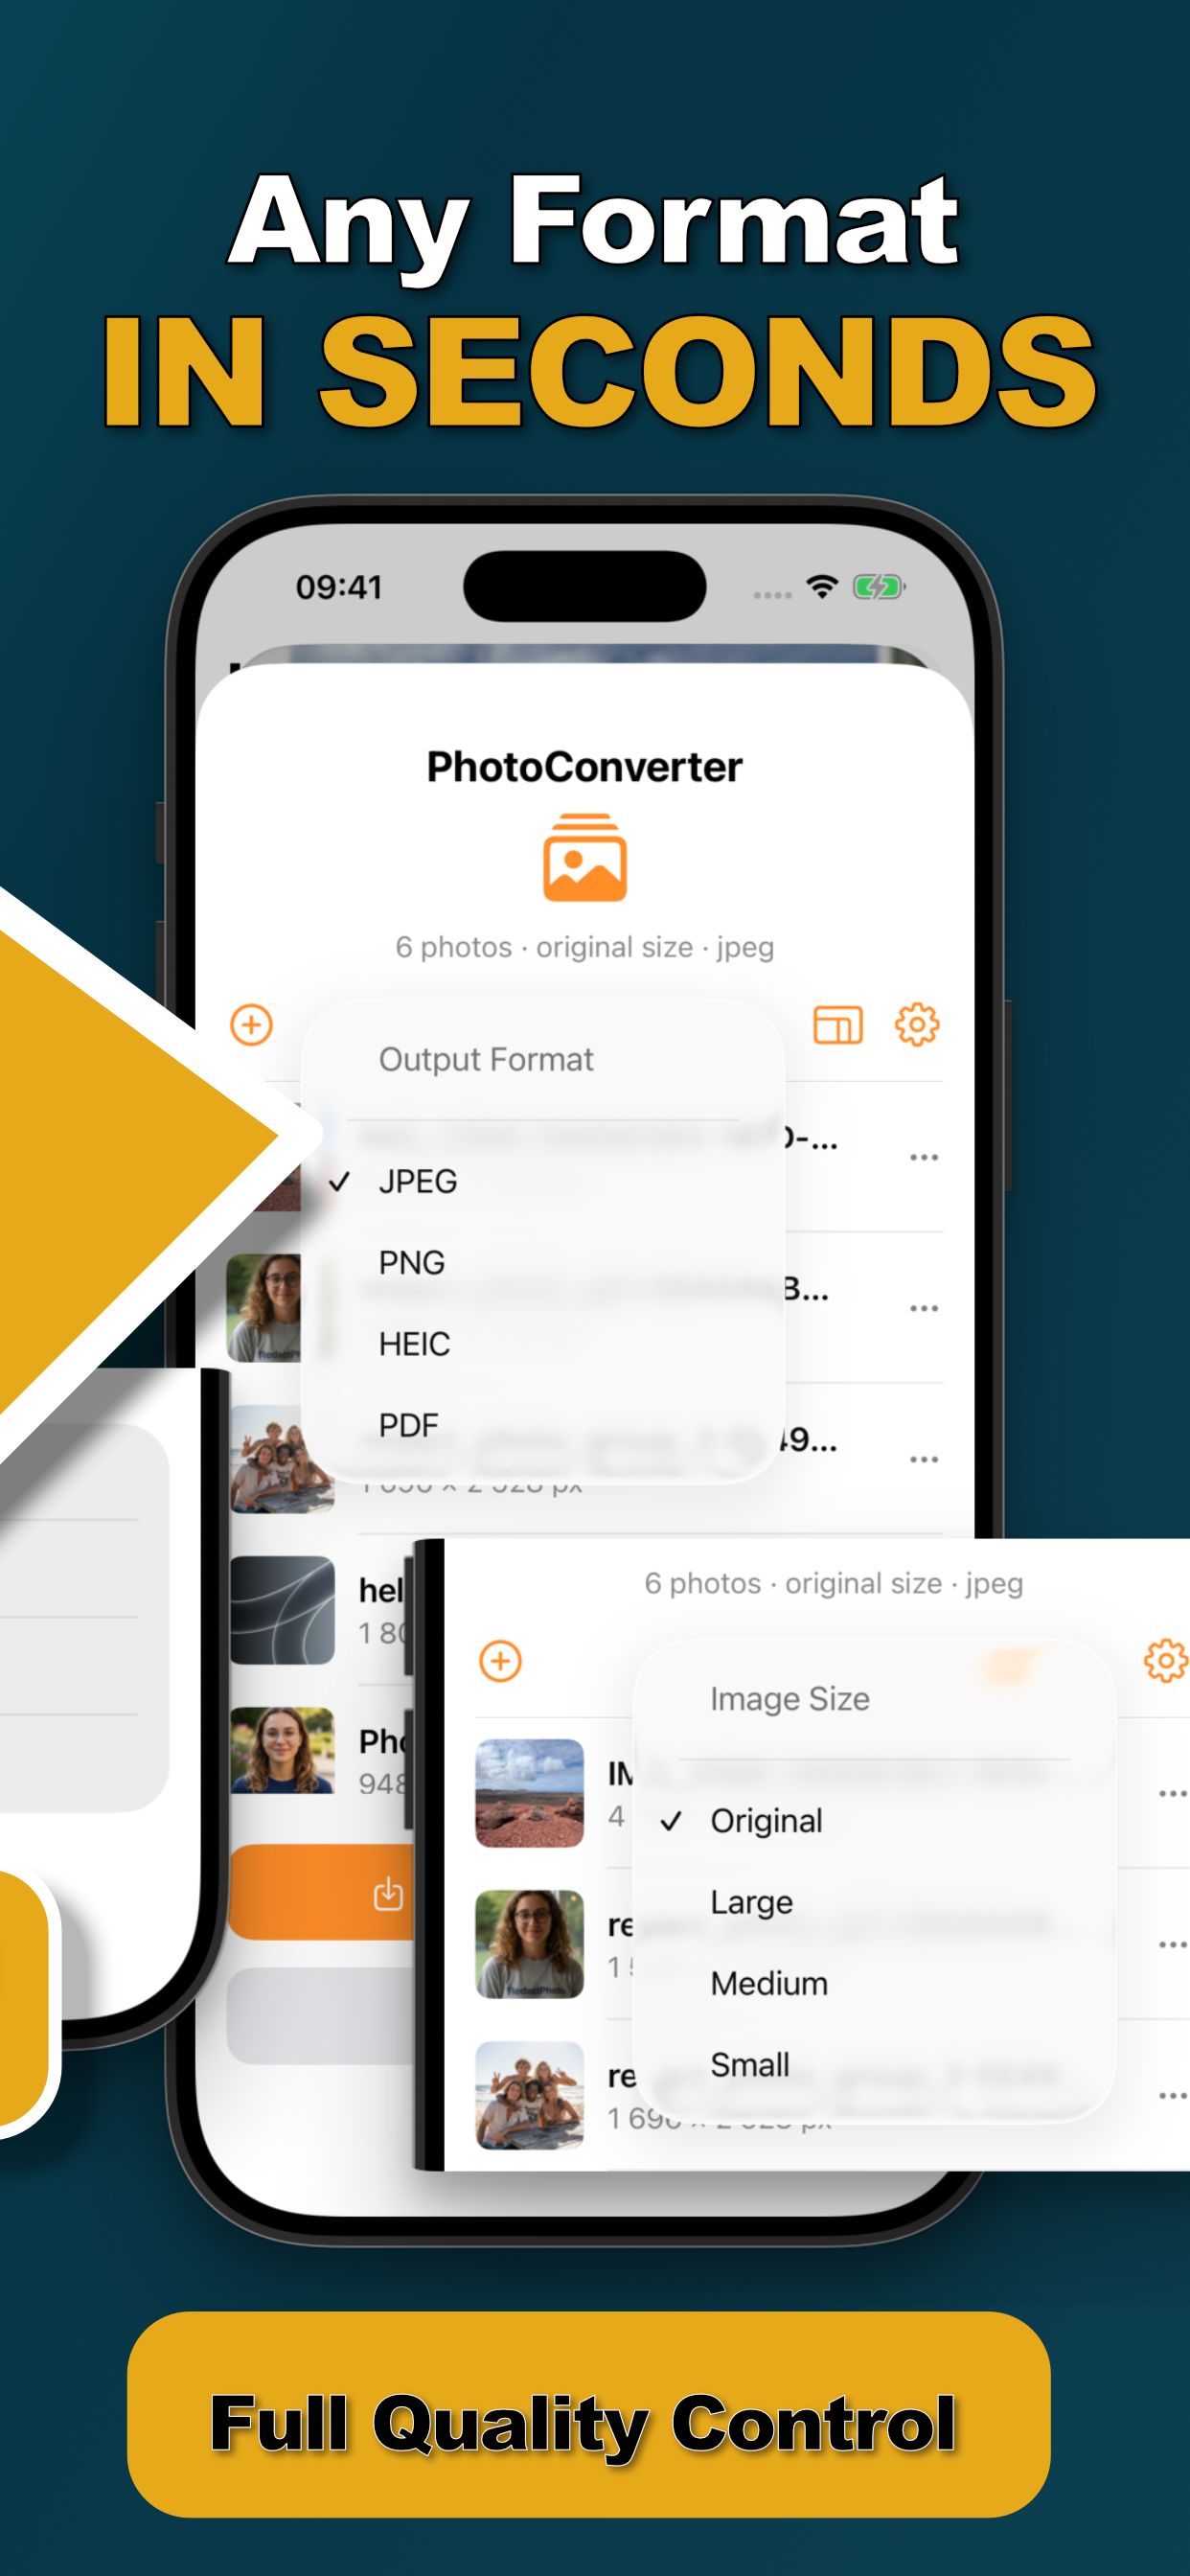
- Choose PNG as the output formatKeep original dimensions for a fully lossless copy of every pixel the camera captured.
- Convert and save backThe PNGs are written on-device and saved back to your library, ready to AirDrop or upload.
Mind the File Sizes
Lossless comes at a price, PNG photos are big. If the destination has an upload cap, you can resize dimensions in the same pass while keeping PNG's losslessness at the new size, or check the upload-limit guide for targeting an exact file size.
Try it on your own photos
Photo Converter is free to download with a 3-day free trial, convert your first batch in the next two minutes, without anything leaving your phone.
Get Photo Converter on the App Store