 Photo Converter
Every screenshot your iPhone takes is a PNG, pixel-perfect and heavy. That's the right choice for crisp UI text, but the wrong one for attaching twenty screenshots to an email or a support ticket. Converting PNG to JPG typically cuts the size by 5-10× with no visible difference for photos and most screenshots.
When PNG → JPG Makes Sense (and When It Doesn't)
Convert to JPG when the image is going to be viewed: screenshots for a ticket, photos saved from the web, graphics for a chat. Stay with PNG when the image will be edited further or needs transparency, JPG has no alpha channel and recompresses on every save. For the reverse direction, see converting HEIC to PNG.
Convert PNG to JPG (Step by Step)
- Select the PNGs in PhotosScreenshots live in their own album (Albums → Media Types → Screenshots), which makes bulk selection quick.
- Share to Photo ConverterTap Share → “Convert with PhotoConverter.” The batch loads in the share sheet.
- Pick JPEG and set quality95% quality is visually transparent for almost everything; drop lower only when file size matters more than pixel-peeping.
- Convert and save backOne tap, whole batch, saved back to your library as lightweight JPGs.
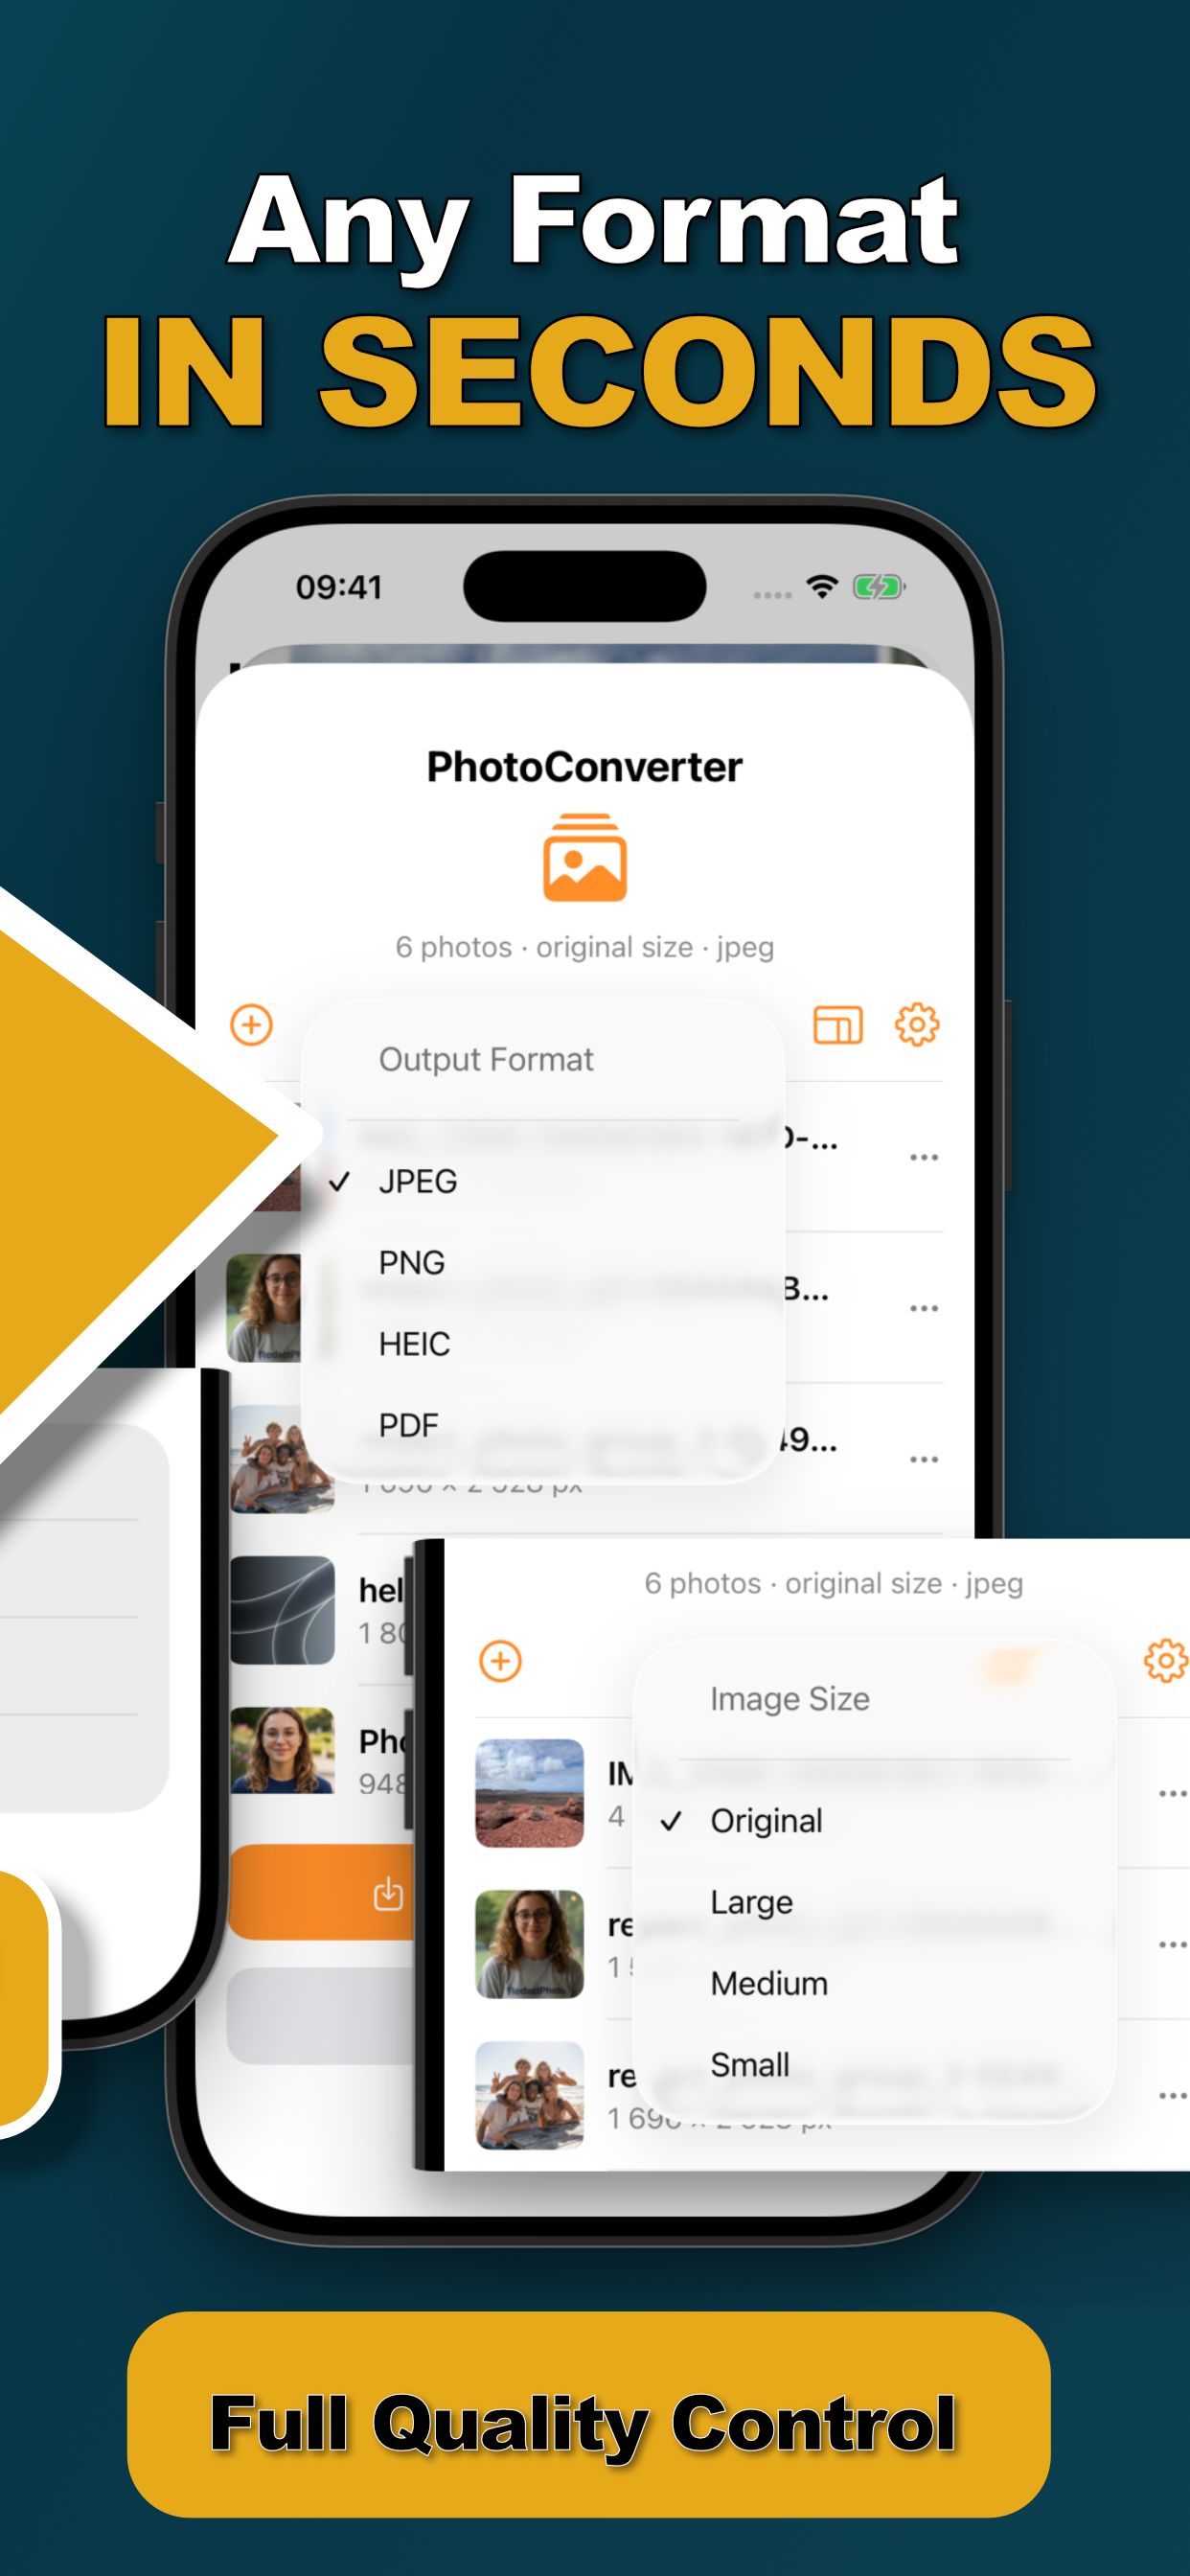
Shrink Further While You're There
The same pass can also resize, a full-resolution screenshot rarely needs to stay 1179×2556 to be readable in a chat. Combine format + dimensions + quality to hit any target size.
Try it on your own photos
Photo Converter is free to download with a 3-day free trial, convert your first batch in the next two minutes, without anything leaving your phone.
Get Photo Converter on the App Store