 Photo Converter
If every photo you take ends up on a Windows PC, a web form, or an Android group chat, shooting HEIC just adds a conversion step to your life. Apple gives you a switch, with a trade-off worth knowing, and it leaves one gap this guide also closes.
The Camera Setting
Open Settings → Camera → Formats and switch from High Efficiency to Most Compatible. From now on, the camera saves JPEG (and video as H.264). The trade-off is honest: JPEGs are roughly twice the size of the equivalent HEIC, so your storage and iCloud fill about twice as fast. Some capture modes that depend on the high-efficiency pipeline can also be restricted.
What the Setting Doesn't Fix
Every photo you've already taken is still HEIC. The setting only affects future shots, your camera roll's history keeps its format. That's the gap batch conversion closes.
Convert the HEIC Photos You Already Have (Step by Step)
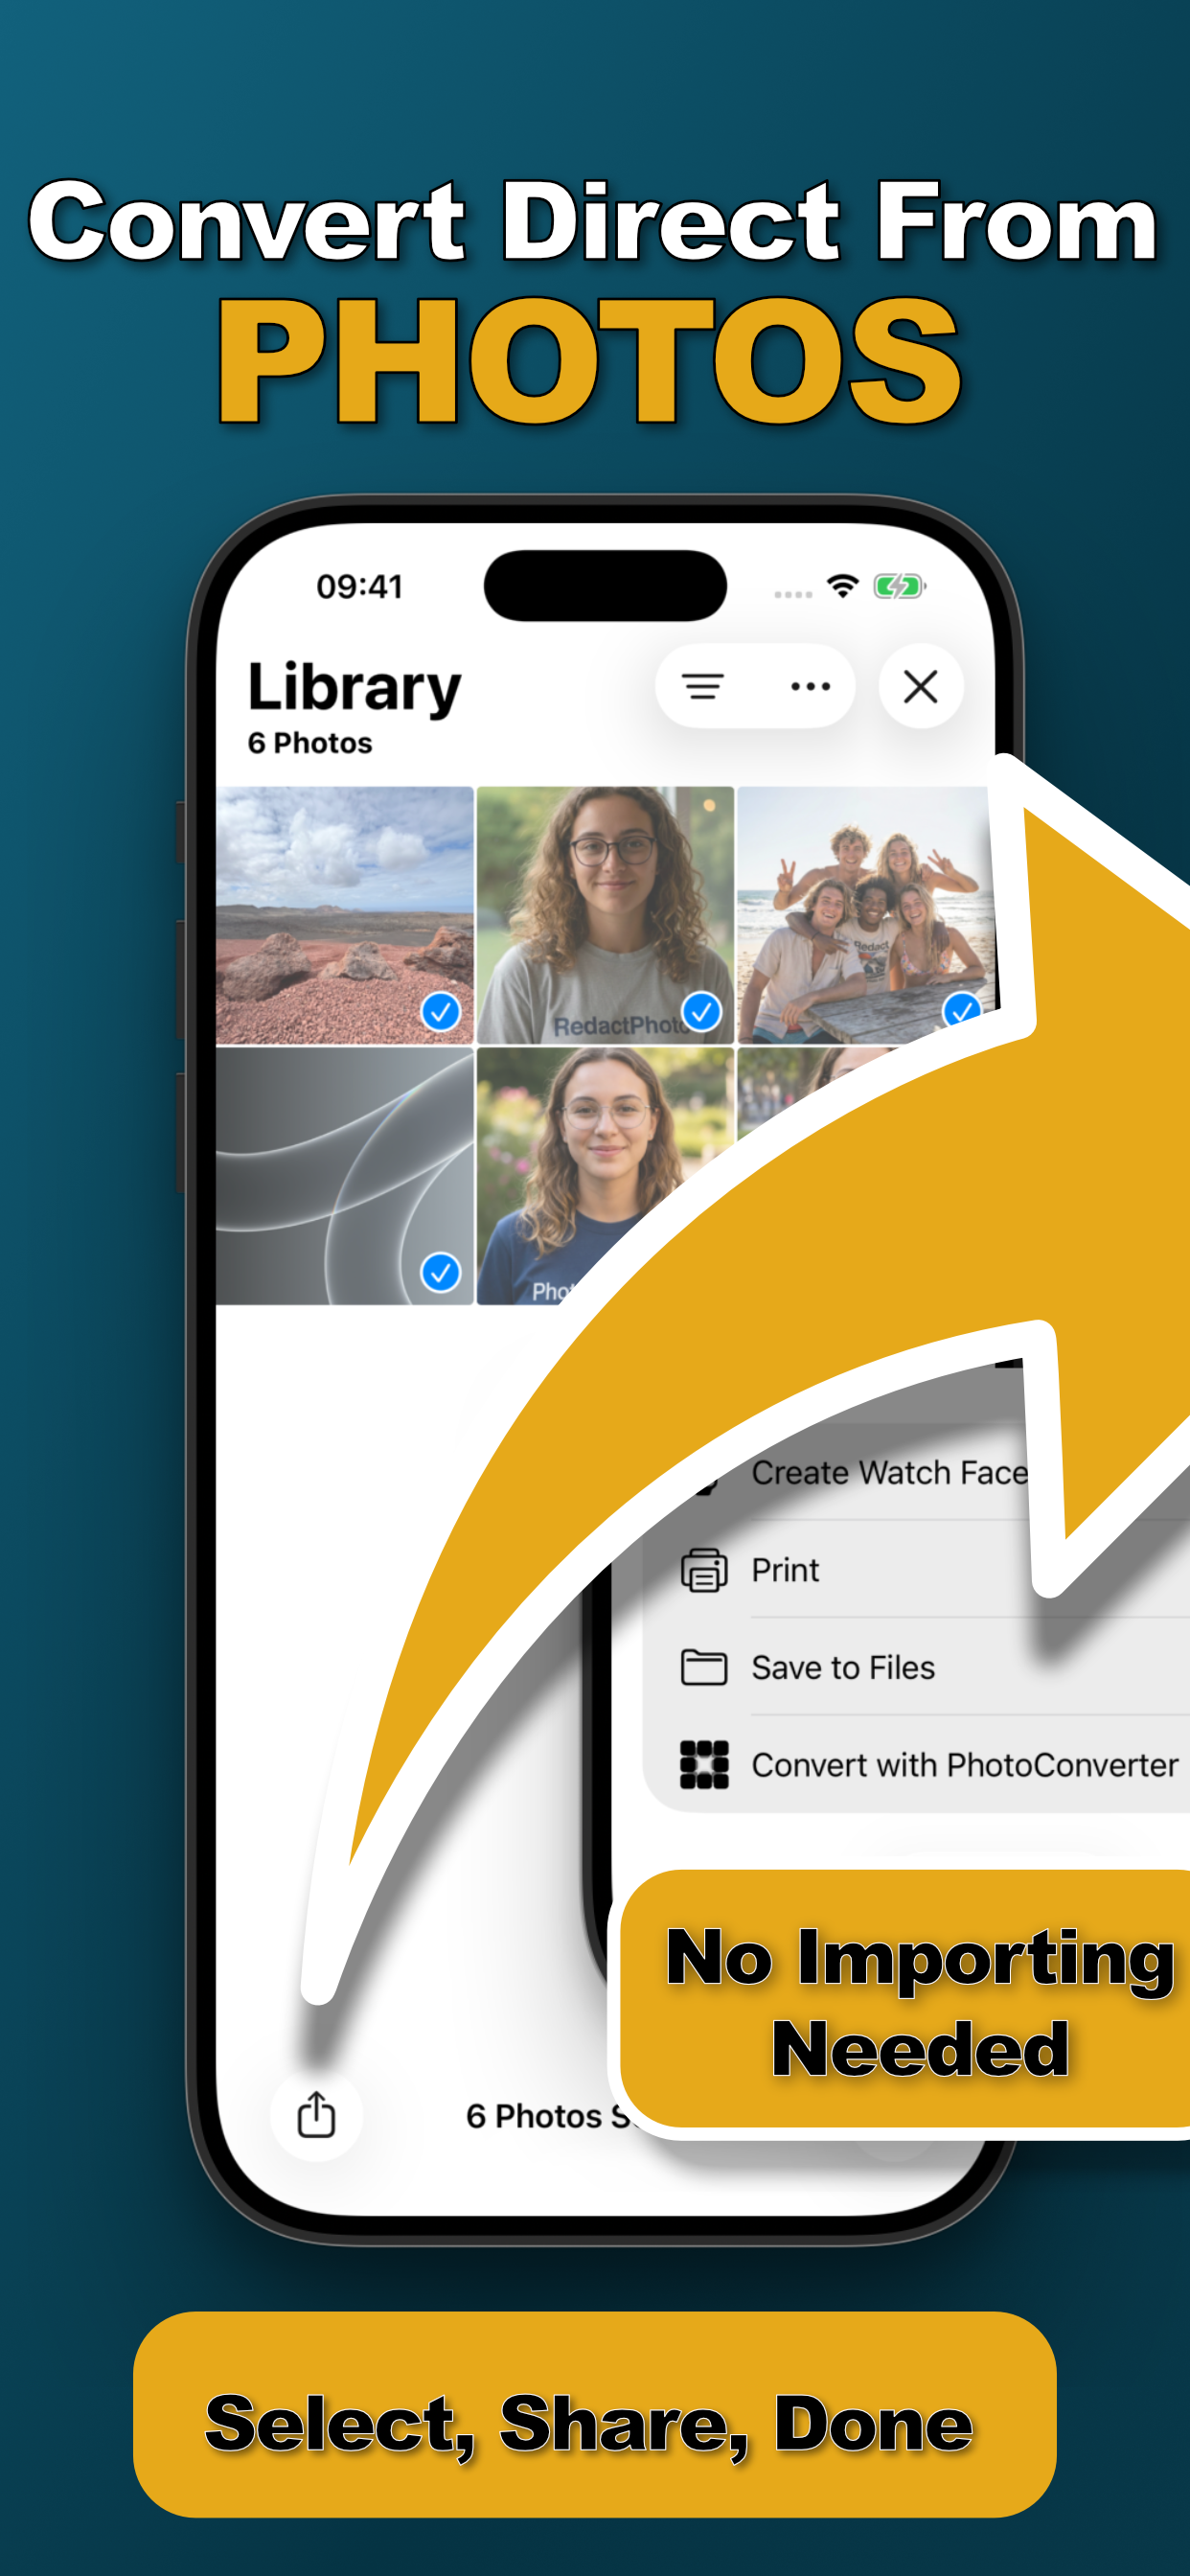
- Select existing HEIC photos in PhotosPick an album, a trip, or everything you're about to share: batches of dozens are fine.
- Tap Share → “Convert with PhotoConverter”The extension loads your selection instantly, right in the share sheet.
- Choose JPEG, keep original qualityFull-size, maximum-quality JPEGs are visually identical to the HEIC originals.
- Convert and save backOne tap converts the whole batch on-device and saves the JPG copies to your library.
The Middle Path Most People Actually Want
Consider leaving the camera on High Efficiency and converting on demand instead: you keep the 2× storage savings on thousands of photos and spend one tap on the handful that need to be JPG. That's the workflow Photo Converter is built around, details in the HEIC to JPG guide.
Try it on your own photos
Photo Converter is free to download with a 3-day free trial, convert your first batch in the next two minutes, without anything leaving your phone.
Get Photo Converter on the App Store